
In the vast and intricate world of photography, mastering exposure is fundamental to translating your creative vision into compelling images. At the heart of achieving a well-exposed photograph lies the dynamic interplay of three core settings: ISO, Aperture, and Shutter Speed. Individually, each setting controls a distinct aspect of light capture and image appearance. However, their true power emerges when understood as interconnected components of what is often referred to as the ‘exposure triangle.’ This blog post will delve into each of these elements and, critically, explain how they work in concert to define the brightness, clarity, and creative aesthetics of your photographs.
The Exposure Triangle: A Fundamental Concept
The exposure triangle is a conceptual model that illustrates the relationship between ISO, Aperture, and Shutter Speed. Imagine these three settings as the vertices of a triangle. Changing one side of the triangle inevitably impacts the others if you wish to maintain a consistent exposure level. The goal isn’t just to make an image brighter or darker, but to achieve a balanced exposure that aligns with your artistic intent, considering factors like depth of field, motion rendition, and image noise.
Understanding this interconnectedness is crucial because it allows photographers to make informed decisions. For instance, if you decide to adjust your aperture for a specific creative effect, you will likely need to compensate by altering your shutter speed or ISO to prevent the image from becoming overexposed (too bright) or underexposed (too dark).
Understanding Each Element Individually
Aperture
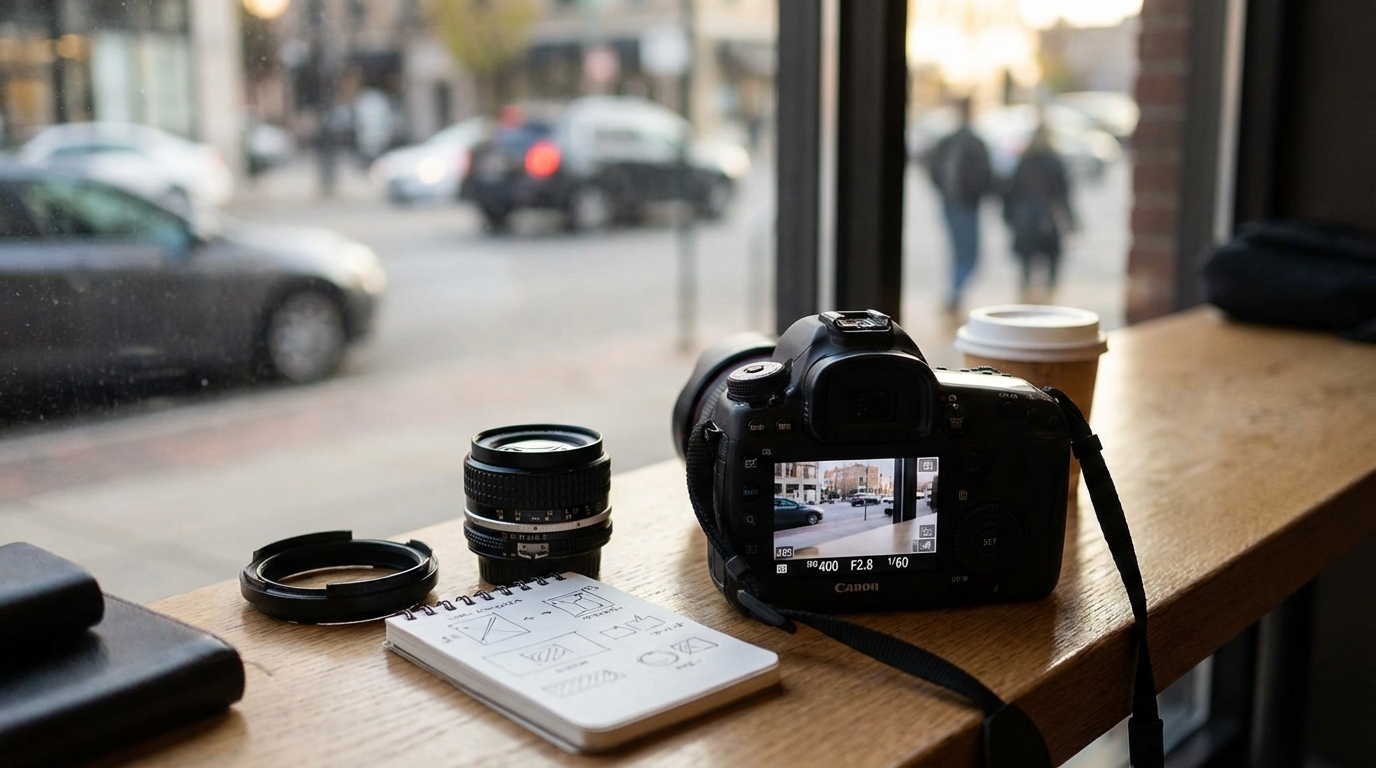
Aperture refers to the opening in the lens through which light passes to reach the camera’s sensor. It functions much like the pupil of the human eye, expanding or contracting to control the amount of light entering. Aperture is measured in f-numbers or f-stops (e.g., f/1.8, f/4, f/16).
- Light Control: A wider aperture (indicated by a smaller f-number like f/2.8) allows more light to pass through, resulting in a brighter exposure. A narrower aperture (indicated by a larger f-number like f/16) restricts light, leading to a darker exposure.
- Depth of Field: Beyond brightness, aperture profoundly influences the depth of field (DoF)—the range of distance in a photograph that appears acceptably sharp. A wider aperture (smaller f-number) creates a shallower depth of field, where only a narrow plane is in focus, often used to isolate subjects from a blurred background. A narrower aperture (larger f-number) produces a deeper depth of field, keeping more of the scene in focus, which is valuable for landscapes or group shots.
Shutter Speed
Shutter speed dictates the duration for which the camera’s shutter remains open, exposing the sensor to light. It is measured in fractions of a second (e.g., 1/1000s, 1/60s, 1/2s) or whole seconds (e.g., 1s, 30s).
- Light Control: A faster shutter speed means the sensor is exposed for a shorter time, letting in less light, which darkens the image. A slower shutter speed keeps the sensor exposed longer, allowing more light to enter, thus brightening the image.
- Motion Control: Shutter speed is the primary tool for controlling how motion is depicted in a photograph.
- Freezing Motion: Very fast shutter speeds (e.g., 1/1000s or faster) are used to freeze fast-moving subjects, capturing them in crisp detail.
- Blurring Motion: Slower shutter speeds (e.g., 1/30s or slower) can introduce motion blur, creating a sense of movement or smoothness in subjects like flowing water or moving vehicles.
ISO
ISO represents the camera sensor’s sensitivity to light. Unlike aperture and shutter speed, which are physical controls, ISO is an amplification of the signal received by the sensor. It is expressed in numerical values, typically in increments like 100, 200, 400, 800, and so on.
- Light Control: A lower ISO setting (e.g., ISO 100 or 200) indicates less sensitivity, requiring more light for a proper exposure. This generally results in the cleanest image quality. A higher ISO setting (e.g., ISO 1600 or 3200) increases the sensor’s sensitivity, allowing for proper exposure in dimmer conditions or with faster shutter speeds.
- Image Noise: The trade-off for increased sensitivity is the potential introduction of “noise” or “grain” into the image. Higher ISO values amplify the signal, but they also amplify electrical interference, which appears as visible flecks or discoloration, particularly in shadow areas. Therefore, photographers generally aim to use the lowest ISO possible for their shooting conditions to maintain image clarity.
The Interplay: Working Together for Creative Control
The real art of photography lies in understanding how to manipulate these three elements in relation to each other to achieve a specific photographic outcome. Every adjustment to one element will necessitate a corresponding adjustment to one or both of the others to maintain desired exposure.
Scenario 1: Photographing in Low Light
When light is scarce, you need to gather as much light as possible. Here’s how the triangle works:
- Widen Aperture: Open the aperture (smaller f-number) to let in more light. This may result in a shallower depth of field.
- Slow Shutter Speed: Extend the shutter duration to gather more light. Be mindful of potential motion blur, either from subject movement or camera shake (a tripod may be necessary).
- Increase ISO: If widening the aperture and slowing the shutter aren’t enough or aren’t creatively desirable, increasing the ISO will amplify the sensor’s sensitivity, brightening the image but potentially introducing noise.
Scenario 2: Freezing Fast Action
To capture a fast-moving subject sharply, a very fast shutter speed is essential.
- Fast Shutter Speed: Set a high shutter speed (e.g., 1/500s or faster).
- Compensate for Light Loss: Since a fast shutter speed lets in less light, you’ll need to compensate by:
- Wider Aperture: Open the aperture (smaller f-number) to allow more light in. This might lead to a shallower depth of field, which could be an intentional creative choice.
- Increase ISO: If more light is still needed, raise the ISO. Be aware of the potential for increased noise.
Scenario 3: Achieving Deep Depth of Field
For scenes where you want everything from foreground to background to be in sharp focus, such as landscapes, a narrow aperture is required.
- Narrow Aperture: Use a large f-number (e.g., f/11, f/16). This significantly reduces the amount of light entering the camera.
- Compensate for Light Loss: To maintain a proper exposure, you will need to:
- Slow Shutter Speed: Increase the shutter duration to let in more light. This might require a tripod to prevent camera shake.
- Increase ISO: If the shutter speed becomes too slow for handheld shooting or for capturing moving elements, increasing the ISO can help, though again, noise is a consideration.
Achieving Your Desired Exposure
The mastery of ISO, Aperture, and Shutter Speed isn’t about finding a single “correct” setting, but about understanding the artistic implications of each choice. A properly exposed photograph is one that not only has adequate brightness but also reflects the photographer’s creative intent regarding depth of field, motion, and image quality.
Modern cameras offer various metering modes to help assess the scene’s brightness, providing a starting point for your exposure settings. However, ultimately, the final decision on how to balance these three crucial elements rests with the photographer. Practice and experimentation are key to developing an intuitive understanding of how these controls work together, allowing you to confidently adapt to different lighting conditions and creative goals.
Conclusion
ISO, Aperture, and Shutter Speed are the fundamental pillars of photographic exposure. Each plays a distinct role, yet they are intrinsically linked, forming a dynamic triangle of control. By understanding how each setting influences both the brightness and the creative aspects of your image—depth of field, motion, and noise—you gain the power to intentionally craft your photographs. Rather than viewing them as isolated controls, photographers who grasp their synergistic relationship are well-equipped to navigate diverse photographic scenarios and bring their artistic visions to life.
Frequently Asked Questions
Q1: What exactly is the exposure triangle in photography?
A1: The exposure triangle is a conceptual model illustrating the interdependent relationship between ISO, Aperture, and Shutter Speed. These three settings collectively control the amount of light reaching the camera’s sensor, determining the overall brightness and other creative aspects of a photograph. Adjusting one setting typically requires adjusting one or both of the others to maintain a desired level of exposure.
Q2: How does aperture affect an image beyond its brightness?
A2: Beyond controlling brightness, aperture significantly influences the depth of field (DoF). A wide aperture (smaller f-number) creates a shallow DoF, where only a narrow range of the scene is in focus, often used to blur backgrounds. A narrow aperture (larger f-number) produces a deep DoF, keeping a greater portion of the scene sharp, commonly used in landscape photography.
Q3: When should I consider using a fast shutter speed?
A3: A fast shutter speed is primarily used to freeze motion. This is particularly useful when photographing fast-moving subjects like sports, wildlife, or children, ensuring they appear sharp and without blur. It can also be used in bright conditions to reduce the amount of light entering the camera without needing to significantly narrow the aperture or lower the ISO.
Q4: What is the main downside of using a high ISO?
A4: The primary downside of using a high ISO setting is the introduction of digital noise or grain into the image. While a high ISO increases the sensor’s sensitivity to light, allowing for photography in dimmer conditions, it also amplifies electronic interference, which manifests as visible speckles or discoloration, particularly noticeable in darker areas of the photograph.
Q5: Can I achieve a properly exposed photo by only changing one setting (Aperture, Shutter Speed, or ISO)?
A5: While you can alter the overall brightness of an image by changing only one setting, it’s rare to achieve a photograph that is both “properly” exposed and creatively aligned with your vision without considering the other two. Each setting has creative implications (DoF, motion blur, noise). Therefore, balancing all three is usually necessary to achieve the desired brightness while also controlling these artistic elements.

Diana Miller, is a dedicated nature enthusiast and an outdoor adventurer. She began leading groups for excursions in her teens and never stopped. Following her passion for nature, she gathers her friends for outdoor trips every now and then. And for the last 10 years, she has executed workshops on backpacking, snow kayaking and traveling that included her main motive of lightweight packing while outdoors. During leisure, she loves planning for her next adventure.
